Hello,
Plese check this-
Method 1: Running the Windows Store Troubleshooter
Before we move on to other potential repair strategies, we should start by seeing if your Windows installation is not equipped to resolve the issue automatically. If the 0x80D03805 error code is caused by a common inconsistency that Microsoft is already aware of, you will be able to resolve it easily simply by running the Windows Store Troubleshooter .
The Windows Store Troubleshooter utility contains a selection of automated repair strategies that can be automatically deployed if the initial analysis manages to identify an issue that’s already covered.
If the 0x80D03805 error code is already covered by a repair strategy, then the procedure below should end up resolving the issue entirely. Several affected users have confirmed that the error was resolved after deploying the Windows Store Troubleshooter.
Here’s what you need to do:
- Press Windows key + R to open up a Run dialog box. Once you’re inside the text window, type ” ms-settings:troubleshoot’ and press Enter to open up the Troubleshooting tab of the Settings app.
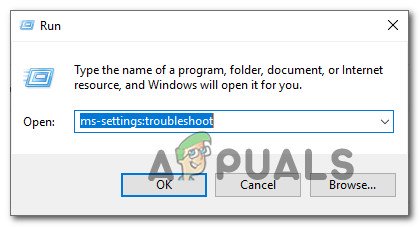
Accessing the Troubleshooting tab
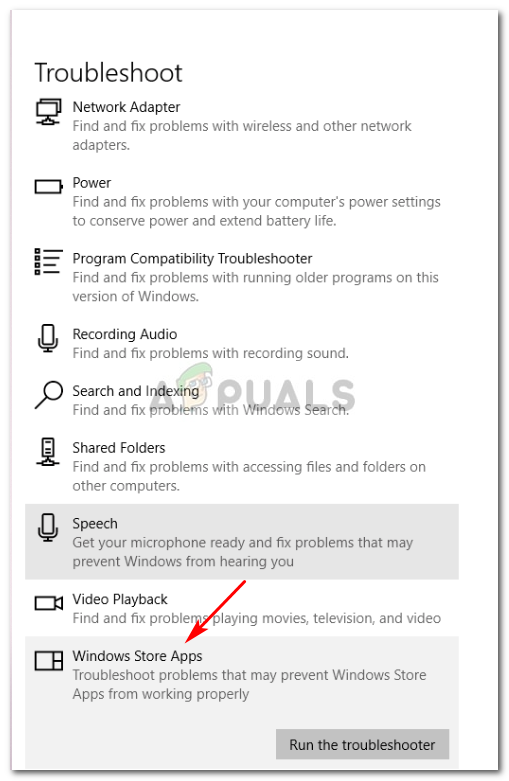
- Once you manage to get inside the Troubleshooting tab, scroll down to the Find and fix other problems section, then click on Windows Store apps. Finally, click on Run the troubleshooter from the newly appeared context menu.
Run Windows Store Apps troubleshooter
- After you start the utility, wait until the initial diagnostic is complete. If a viable repair strategy is recommended, click on Apply this fix to enforce it on your computer.
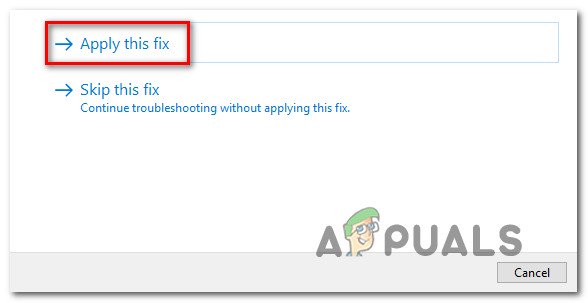
Apply this fix
Note: Keep in mind that in some cases, you will be required to follow additional steps to enforce the recommended fix.
4. Once you manage to enforce the recommended repair strategy, restart your computer and see if the problem is resolved at the next system startup.
If you’re still seeing the 0x80D03805 error code when you try to initiate a download with Windows Store, move down to the next method below.
Method 2: Update Windows to the latest version
As it turns out, there is one security update ( Security Update for Microsoft Windows KB4462919 ) that is likely to cause this kind of behavior. This update was released at the end of 2018 and is known to cause the 0x80D03805 error code when performing certain actions in Microsoft Store.
Fortunately, Microsoft has since released a hotfix for this issue. Since December 2018, you can resolve this problem (if it’s occurring due to a bad update) by installing every pending Windows 10 update. This will ensure that the hotfix for the issue will automatically get installed.
Here’s a quick guide on installing every pending update on your Windows 10 computer:
- Press Windows key + R to open up a Run dialog box. Next, type ” ms-settings:windowsupdate‘ and press Enter to open up the Windows update tab of the Settings tab.

Run dialog: ms-settings:windowsupdate
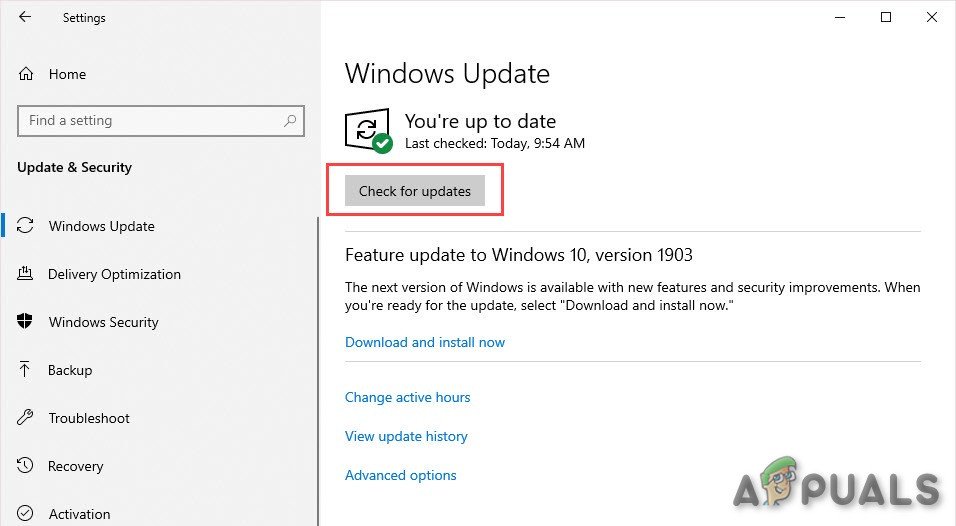
- Once you’re inside the Windows update screen, move over to the right-hand side and click on Check for updates . After the initial scan is finished, follow the on-screen instructions to install every pending update until you bring your Windows 10 build-up to the latest.
Check for Updates of Windows
Note: If you’re prompted to restart before every update is installed do so, but make sure to return to this screen at the next startup and complete the installation of the rest of updates after the next startup sequence is complete.
3. Once every pending update is installed, restart your computer once again and see if you still see the 0x80D03805 error when trying to perform an action in Windows Store.
Method 3: Clearing the cache of Windows Store
According to several different affected users, this problem can also occur due to some temporary files that will ultimately inhibit your PC’s ability to establish connections between the integrated UWP (Universal Windows Platform) store and the relevant Microsoft services. In most cases, the problem will turn out to be caused by a selection of temp files that are stored inside the cache folder.
As it turns out, this type of problem will most likely appear after a security scanner quarantined some items belonging to the Store cache or after an unexpected machine interruption.
If this particular scenario is applicable, you should be able to resolve the issue by resetting the entire Windows Store cache. In this case, there are two different approaches that will get you there on Windows 10. Option 1 is easier, but it involves running a series of commands from an elevated CMD prompt. Option 2 is more tedious, but it will allow you to do it all from the Windows settings menus.
Feel free to follow whichever method you feel more comfortable with:
Resetting the Windows Store cache via an elevated CMD
- Press Windows key + R to open up a Run dialog box. Next, type ‘cmd’ inside the text box and press Ctrl + Shift + Enter to open up an elevated Command Prompt. When you see the UAC (User Account Control) , click Yes to grant admin access.
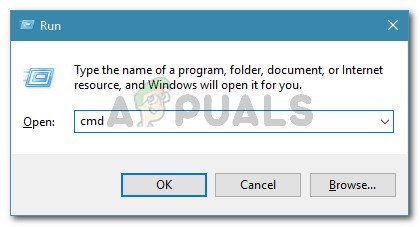
Opening an elevated Command Prompt from a Run dialog box
- Once you manage to get inside the elevated Command Prompt, type the following command in order and press Enter to reset the Windows Store along with every dependency:
wsreset.exe
- After the command is processed successfully, restart your computer and see if the problem is resolved at the next computer startup.
Resetting the Windows Store via Settings app
- Press Windows key + R to open up a Run dialog box. Next, type ‘ ms-settings:appsfeatures’, and press Enter to open up the Apps & Features menu of the Settings app.
- Once you manage to get inside the Apps & Features screen, scroll down through the list of installed UWP applications until you see the Microsoft Store entry.
- After you manage to locate the Microsoft Store entry, look below and click on the Advanced Option hyperlink (under Microsoft Corporation ).
- When you manage to get inside the Advanced options menu, scroll down to the Reset button and click it to initiate the process of clearing out the cache.
- Wait until the process is complete, then reboot your machine and see if the issue is resolved at the next system startup.
Method 4: Re-registering DLLs used by Windows Store
As it’s been confirmed by several affected users, another possible reason why the 0x80D03805 error might occur is due to one or more DLL (Dynamic Link Library) files that are no longer registered correctly. This is quite rare on Windows 10 but it’s still possible under certain circumstances (typically after a cleaned virus infection).
If this scenario is applicable in your case, you should be able to fix the problem by re-registering all DDLs that are working together with the Windows Store component. Here’s how to do this:
- Press Windows key + R to open up a Run dialog box. Then, type ‘notepad’ inside the text box and press Ctrl + Shift + Enter to open up a Notepad window with elevated access. When you see the UAC (User Account Control) , click Yes to grant admin access.
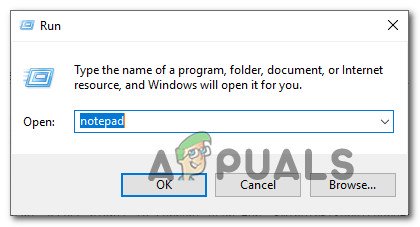
Opening Notepad via Run dialog box
- Inside the newly opened Notepad document, paste the following commands:
regsvr32 c:\windows\system32\vbscript.dll /s regsvr32 c:\windows\system32\mshtml.dll /s regsvr32 c:\windows\system32\msjava.dll /s regsvr32 c:\windows\system32\jscript.dll /s regsvr32 c:\windows\system32\msxml.dll /s regsvr32 c:\windows\system32\actxprxy.dll /s regsvr32 c:\windows\system32\shdocvw.dll /s regsvr32 wuapi.dll /s regsvr32 wuaueng1.dll /s regsvr32 wuaueng.dll /s regsvr32 wucltui.dll /s regsvr32 wups2.dll /s regsvr32 wups.dll /s regsvr32 wuweb.dll /s regsvr32 Softpub.dll /s regsvr32 Mssip32.dll /s regsvr32 Initpki.dll /s regsvr32 softpub.dll /s regsvr32 wintrust.dll /s regsvr32 initpki.dll /s regsvr32 dssenh.dll /s regsvr32 rsaenh.dll /s regsvr32 gpkcsp.dll /s regsvr32 sccbase.dll /s regsvr32 slbcsp.dll /s regsvr32 cryptdlg.dll /s regsvr32 Urlmon.dll /s regsvr32 Shdocvw.dll /s regsvr32 Msjava.dll /s regsvr32 Actxprxy.dll /s regsvr32 Oleaut32.dll /s regsvr32 Mshtml.dll /s regsvr32 msxml.dll /s regsvr32 msxml2.dll /s regsvr32 msxml3.dll /s regsvr32 Browseui.dll /s regsvr32 shell32.dll /s regsvr32 wuapi.dll /s regsvr32 wuaueng.dll /s regsvr32 wuaueng1.dll /s regsvr32 wucltui.dll /s regsvr32 wups.dll /s regsvr32 wuweb.dll /s regsvr32 jscript.dll /s regsvr32 atl.dll /s regsvr32 Mssip32.dll /s
- Once the commands are pasted, go to File (from the ribbon menu at the top) and click on Save as .
- From the Save As menu, name the file however you want, but make sure you set the extension ( File Name ) to .bat . Once you establish an acceptable location, click on Save.
- Next, double-click on the newly created BAT file and hit Yes at the confirmation prompt. If you’re prompted by the UAC (User Account Control) , click Yes to grant admin access.
- Once all the DLL files have been re-registered, restart your computer and see if the issue is resolved at the next system startup.
Re-registering the DLLs used by Windows Update
Method 5: Refresh every OS component
If none of the methods that you followed above have allowed you to fix the issue, there’s a high chance that you see the 0x80D03805 error due to an underlying corruption issue that cannot be resolved conventionally. In a situation such as this one, the most efficient way of taking care of the issue is to refresh every OS component along with any booting-related data.
When it comes to achieving this, you can do this either by a clean install or by performing a repair install (in-place repair) operation.
A clean install is the easiest solution out of the bunch – It doesn’t require you to provide an installation media and it can be initiated with just a few simple clicks. But the major disadvantage is that you won’t be allowed to keep any of your data unless you back them up in advance.