Microsoft first introduced Snipping Tool as a screenshot utility in Windows Vista and later it was continued in Windows 8 & 8.1 and now available in all versions of Windows 10. Snipping Tool is one most needed and productive tool produced by Microsoft which let you take screenshots in various types like free-form area, open window, rectangular areas, or the entire screen. Those snipping images are stored as an image file in various formats like PNG, GIF, or JPEG file or an MHTML file. Snipping Tool allows offer some other setting to edit a snipped image with different colored pens, an eraser, and a highlighter.
You can use the Snipping Tool for all sort of personal and official work. For example, if you wanted to send a note to a friend, but did not want to send whole web page on your screen, In that case you can use this tool to crop out the unwanted sections. Like this you can use this tool any various situations.
Option 1: How to Disable Snipping Tool using GPO
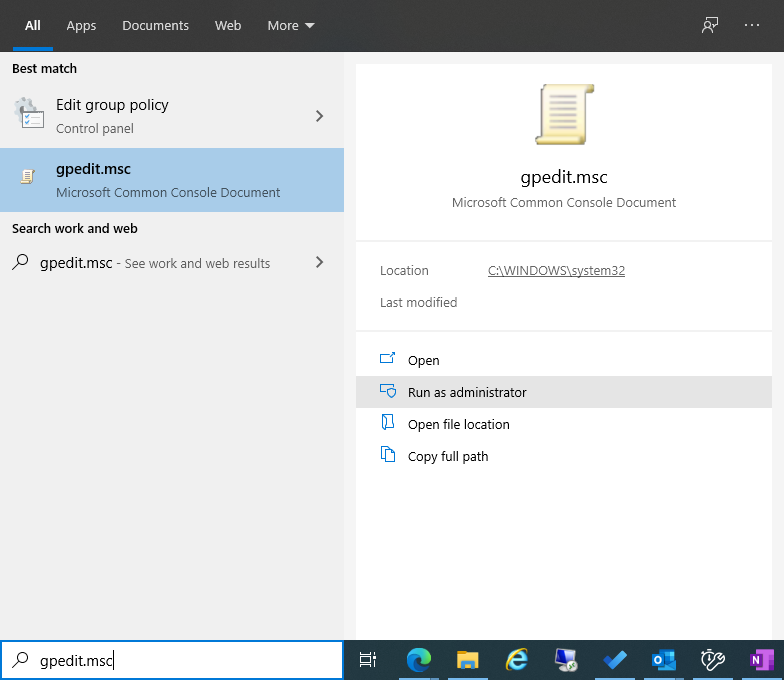
Step 1: Open Group Policy Editor on your device
Type gpedit.msc and in the right section select run as administrator
Step 2: Navigate the path:
Now go to: Computer Configuration\Administrative Templates\Windows Components\Tablet PC\Accessories

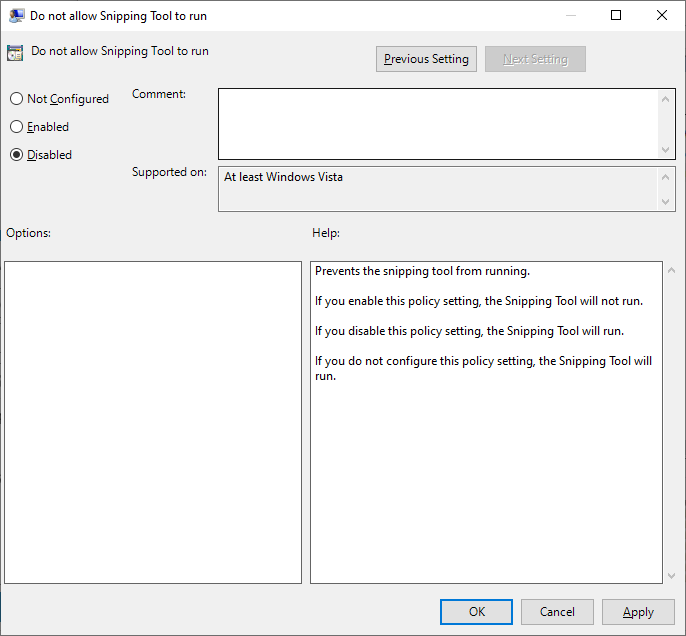
Step 3: Open and Disabled the policy:
Open the Policy “Do not allow Snipping Tool to run” by double clicking on it and select Disabled. Close the Windows by clicking Apply and OK.
That’s it you have disabled the Snipping Tool on your device using Group Policy Editor.
Option 2: How to Disable Snipping Tool using Registry
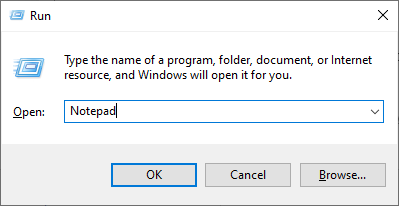
Step 1: Open Notepad
###Step 2: Copy and paste the below command:
[HKEY_CURRENT_USER\Software\Policies\Microsoft\TabletPC]
“DisableSnippingTool”=-
[HKEY_LOCAL_MACHINE\SOFTWARE\Policies\Microsoft\TabletPC]
“DisableSnippingTool”=dword:00000001
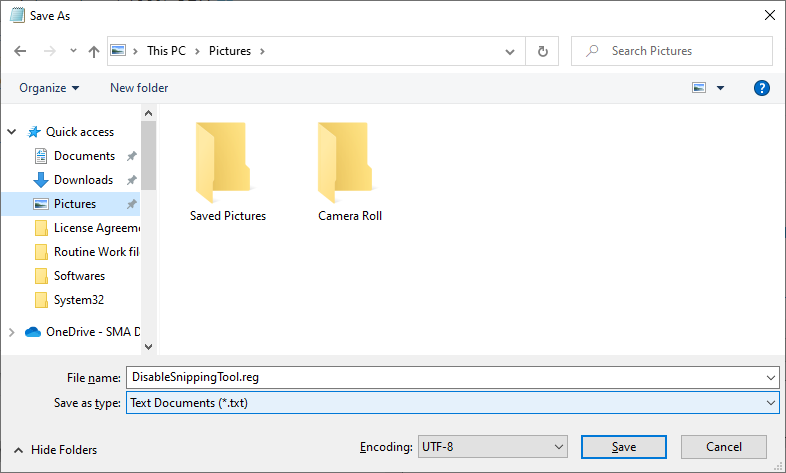
Step 3: Save the file as .reg
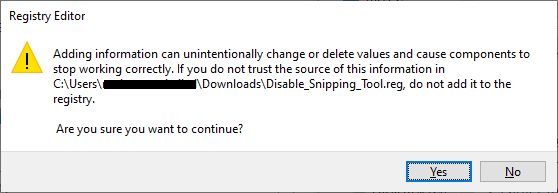
Step 4: Install the registry file to disable Snipping Tool
Double click the file and click Yes to disable the Snipping Tool on your Windows 10 device.
That’s it, you have successfully disabled it.