Hello,
Please check steps below,
Install the NFS Client (Services for NFS)
The first thing we need to do is install the NFS Client which can be done by following the steps below:
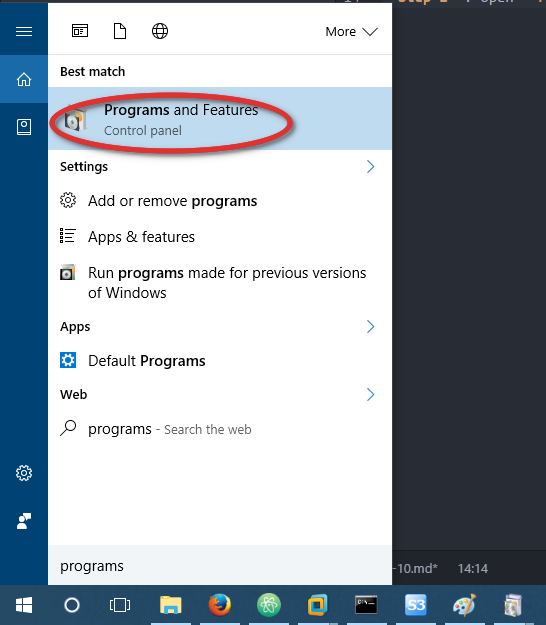
Step 1: Open Programs and Features .
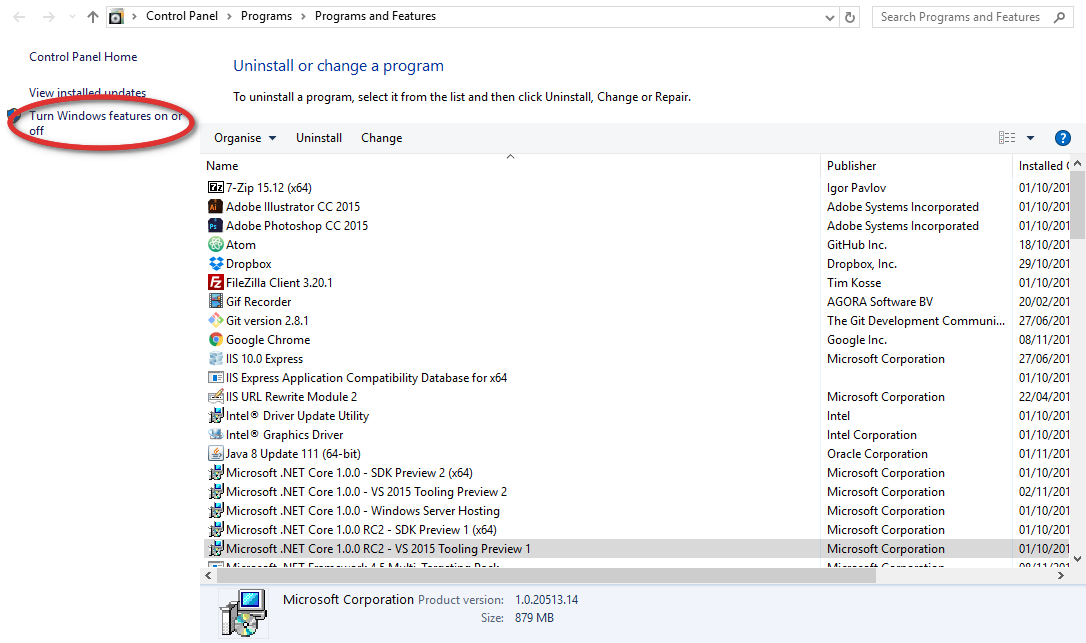
Step 2: Click Turn Windows features on or off .
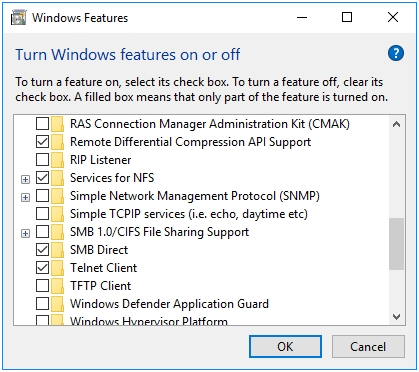
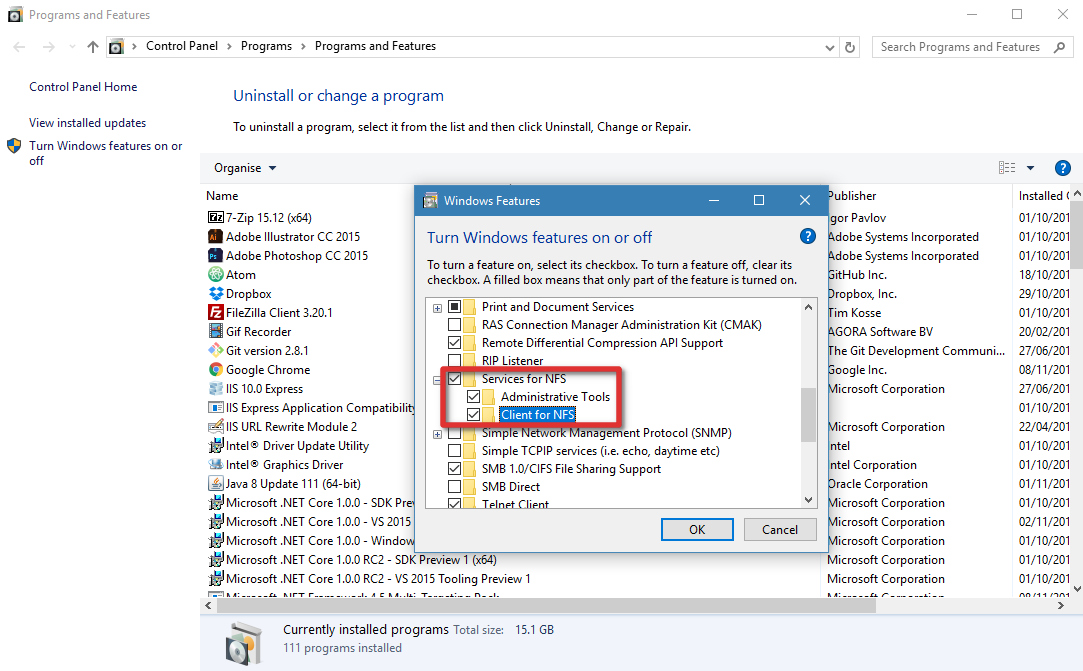
Step 3: Scroll down and check the option Services for NFS , then click OK .
Step 4: Once installed, click Close and exit back to the desktop.
Enable Write Permissions for the Anonymous User
With the default options you will only have read permissions when mounting a UNIX share using the anonymous user. We can give the anonymous user write permissions by changing the UID and GID that it uses to mount the share.
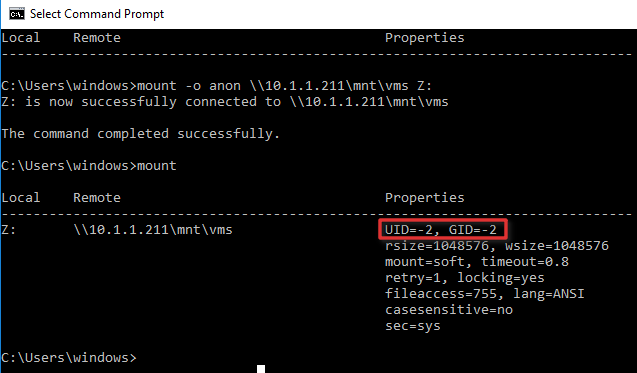
The image below shows the a share mounted using the default settings.
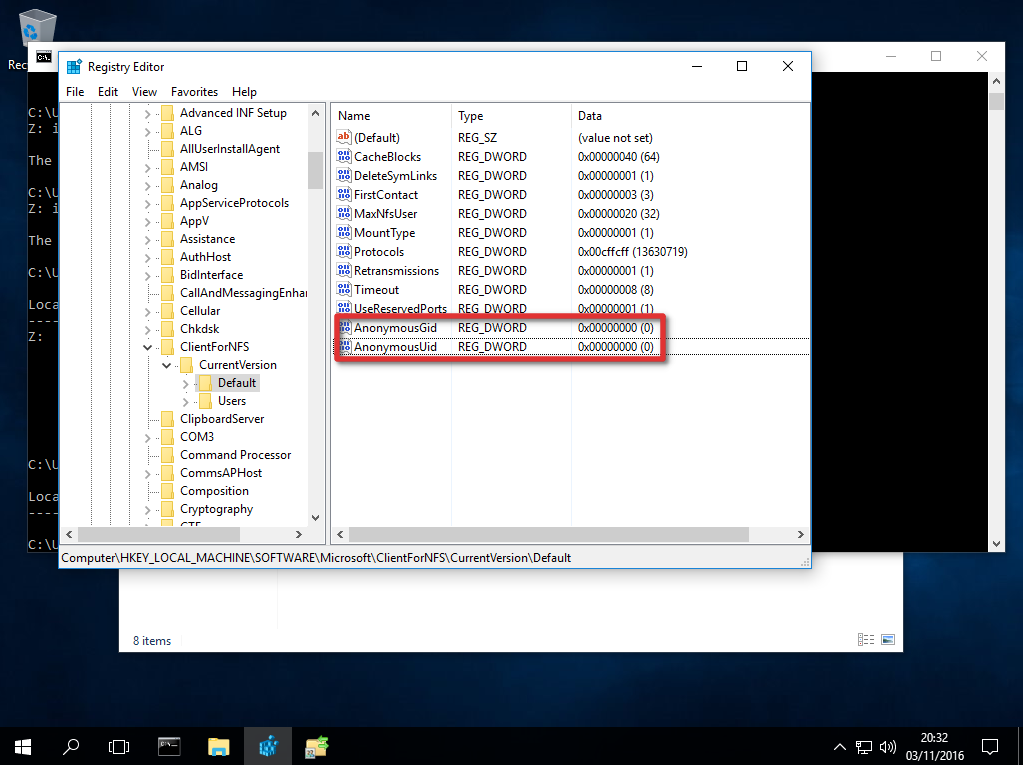
To change the UID and GID we need to make a simple change to the Windows registry by performing the following steps:
- Open regedit by typing it in the search box end pressing Enter .
- Browse to HKEY_LOCAL_MACHINE\SOFTWARE\Microsoft\ClientForNFS\CurrentVersion\Default .
- Create a new New DWORD (32-bit) Value inside the Default folder named AnonymousUid and assign the UID found on the UNIX directory as shared by the NFS system.
- Create a new New DWORD (32-bit) Value inside the Default folder named AnonymousGid and assign the GID found on the UNIX directory as shared by the NFS system.
- Restart the NFS client or reboot the machine to apply the changes.
The output of the mount command should now look like this:
Local    Remote                                 Properties
-------------------------------------------------------------------------------
Z:       \\10.1.1.211\mnt\vms                   UID=0, GID=0
                                                rsize=1048576, wsize=1048576
                                                mount=soft, timeout=1.6
                                                retry=1, locking=yes
                                                fileaccess=755, lang=ANSI
                                                casesensitive=no
                                                sec=sys
Notice the 0 value applied to the UID and GID. This means the share is mounted using the root user.
How to Mount an NFS Share
Assuming your NAS device is on the same network as your Windows machine and the IP address of the device is 10.1.1.211, the following command will mount a share on the NFS system at /mnt/vms.
C:\Users\windows>mount -o anon \\10.1.1.211\mnt\vms Z:
Z: is now successfully connected to \\10.1.1.211\mnt\vms

The command completed successfully.
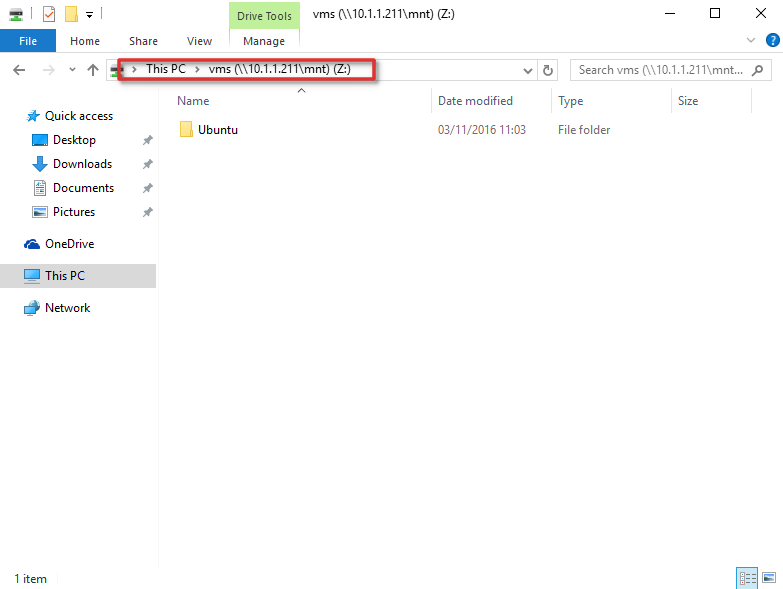
The share is now mounted and we can access the data by navigating to the Z: drive.
That’s it, we can now write to the NAS device. Although, I did notice that trying to open the share for the first time takes a long time.